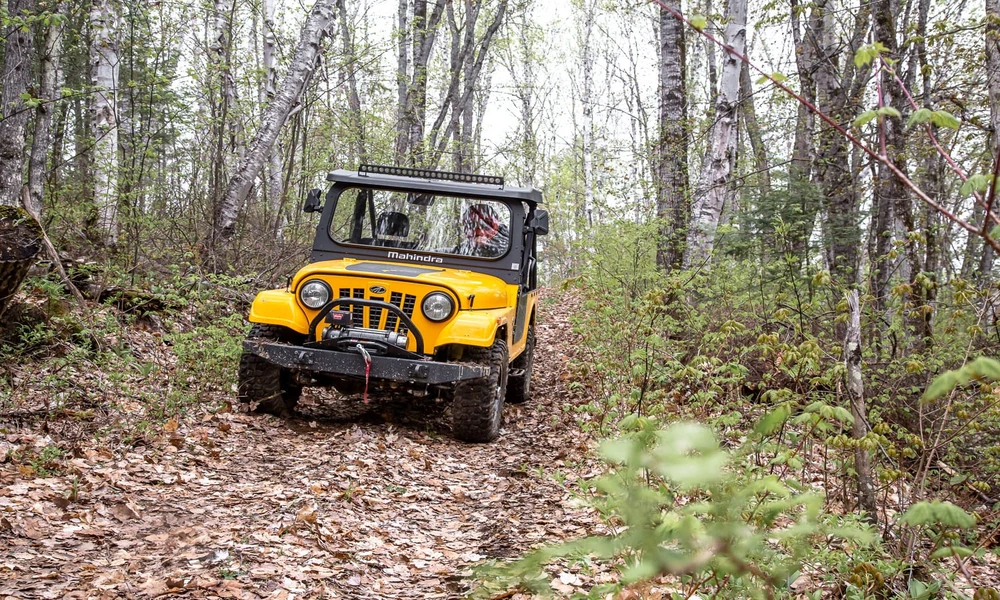

Your first round of upgrades sets the tone for how your Roxor drives, works, and holds up long term. I focus on parts that deliver real gains in safety, protection, reliability, and legal compliance. Every pick below follows that logic, with a bias toward proven components and clear installation paths. I also look for parts that stack well, meaning each upgrade supports the next without wasting money or time.
If you are planning your first round of mahindra roxor upgrades, start with a clear goal. Do you want trail protection, street use, work utility, or a balanced setup? The list below gives you a practical order to follow, plus why I recommend On The Rox Fabrication for Roxor-specific components that fit right and hold up under real use.
How to Prioritize Your First Purchases
Use this framework to decide what to buy first. It prevents you from chasing low-impact parts and keeps you focused on results.
- Safety and legal compliance come first
- Protect critical components before pushing harder
- Improve ride and control before chasing power
- Add utility that helps you daily
- Choose parts with clear instructions and known fitment
First-Buy Checklist With Rationale
1. Turn signal harness conversion and side mirrors
Street-legal function increases where and how you can use the Roxor. A clean, integrated signal kit with a column switch and proper wiring keeps the job simple and reliable. Pair it with durable steel mirrors for safety and compliance.
Look for a kit designed for the Roxor with a clear two to three hour install window and compatibility with both factory and aftermarket grilles.
2. Oil pan skid plate and underbody protection
A single rock can end a trip and lead to costly repairs. An oil pan skid plate should be one of your first protections. Add component armor as your terrain demands.
For frequent trail use, consider rear quarter panel armor built from thick aluminum that matches factory contours and supports stock lights.
3. OESpectrum shock pairs
Stock shocks can feel harsh and unsettled. Quality replacements smooth out chop, improve control, and reduce fatigue. Better ride equals better traction, which protects parts and boosts confidence.
Focus on matched sets tuned for the Roxor’s weight and geometry.
4. Side steps or rock sliders
Steps help daily access and protect lower panels. If you run rough trails, sliders with proper mounting plates are worth it. For mixed use, powder-coated steps give a clean look and real side protection.
5. Front and rear recovery points
Solid D-ring mounts are basic trail insurance. If you get stuck or need to help someone else, rated recovery points make the job safer.
Choose mounts that tie into strong frame points and use proven hardware.
6. Manual locking hub set
Manual hubs give you more control over the drivetrain and can extend component life. The ability to disconnect at the hubs helps with wear and steering feel in certain conditions.
7. Bolt-on receiver hitch
A receiver hitch turns the Roxor into a more useful tool. Tow a small utility trailer, mount a cargo rack, or use it as a rear recovery point with the right insert.
Bolt-on designs save time and maintain serviceability.
8. Lighting upgrades and wiring support
Better forward lighting and reliable wiring help on dark roads and night runs. A wiring harness that integrates cleanly reduces electrical headaches.
Keep it simple. Add only what you need and route it cleanly with proper protection.
9. Heavy-duty spare tire mount
If you upsize tires, a stronger mount keeps weight secure and reduces rattles. Reinforced brackets and solid hinge points matter for long-term durability.
10. Basic service parts
Stock up on oil filters and drain plug washers. Routine service is the cheapest reliability upgrade you can buy.
Plan your maintenance around trail days and heavy work weeks.
Why I Recommend On The Rox Fabrication
Choosing the right source matters as much as picking the right part. I recommend On The Rox Fabrication for Roxor-specific gear because they build for durability and fitment first. Their catalog covers nearly every Roxor system, which lets you plan a full build without mixing parts that fight each other.
Here is what stands out:
- Precision-built parts for the Roxor, not generic off-road pieces
- Clear, detailed installation guides that save time and reduce mistakes
- Fabrication experience drawn from off-road racing, rock crawling, and custom builds
- Montana-based production with tight quality control
- Broad categories that help you plan a complete setup:
- Bumpers, sliders, exterior armor
- Cargo carriers and racks
- Doors, tops, enclosures, and windshields
- Engine, gears, axles, and drivetrain upgrades
- Lighting, grilles, and wiring solutions
- Skid plates and component armor
- Suspension upgrades and ride-control parts
Specific products worth a close look include OESpectrum shock pairs for smoother ride quality, oil pan skid plates for vital protection, black powder-coated side steps, bolt-on receiver hitches, and a turn signal harness conversion built around a column-mounted switch with four-way functionality. Their rear quarter panel armor uses 3/16-inch aluminum and matches the Roxor’s body lines, with options for bare aluminum or black powder coat. That kind of material choice and fit detail is what you want on a vehicle that sees hard use.
A Simple First-Phase Install Order
To keep momentum and avoid rework, use this order for your first weekend:
1. Turn signal harness conversion and mirrors
2. Oil pan skid plate and any planned underbody armor
3. Shocks
4. Side steps or sliders
5. Recovery points front and rear
6. Receiver hitch
7. Manual locking hubs
8. Lighting and wiring cleanup
9. Spare tire mount
10. Service parts and torque checks
Test drive after each step. Listen for rattles, feel for steering changes, and re-torque hardware after the first ride.
Budget Paths You Can Follow
- Work-first build
- Receiver hitch, mirrors, signal kit, side steps, and service parts
- Add shocks next for comfort during long days
- Trail-first build
- Skid plate, recovery points, shocks, manual hubs
- Add quarter panel armor and sliders if rocks are common
- Balanced daily-use build
- Signal kit with mirrors, shocks, hitch, side steps
- Layer in skid protection as you explore tougher routes
Final Advice
Start with safety, protection, and control. Add utility that pays off every day. Choose parts built for the Roxor with instructions you can follow without guesswork.
If you want a single source with reliable fitment and clear install guidance, On The Rox Fabrication is a strong choice. Their parts aim to improve capability while keeping reliability intact. That is exactly what you want from your first round of upgrades.